<p><div class="video"><iframe width="480" height="270" src="https://www.youtube.com/embed/wjQU03LTKdo?feature=oembed" frameborder="0" allow="accelerometer; autoplay; encrypted-media; gyroscope; picture-in-picture" allowfullscreen></iframe></div></p>
<p>ãè¦è´ãããã¨ããããã¾ã(o^∇^o)</p>
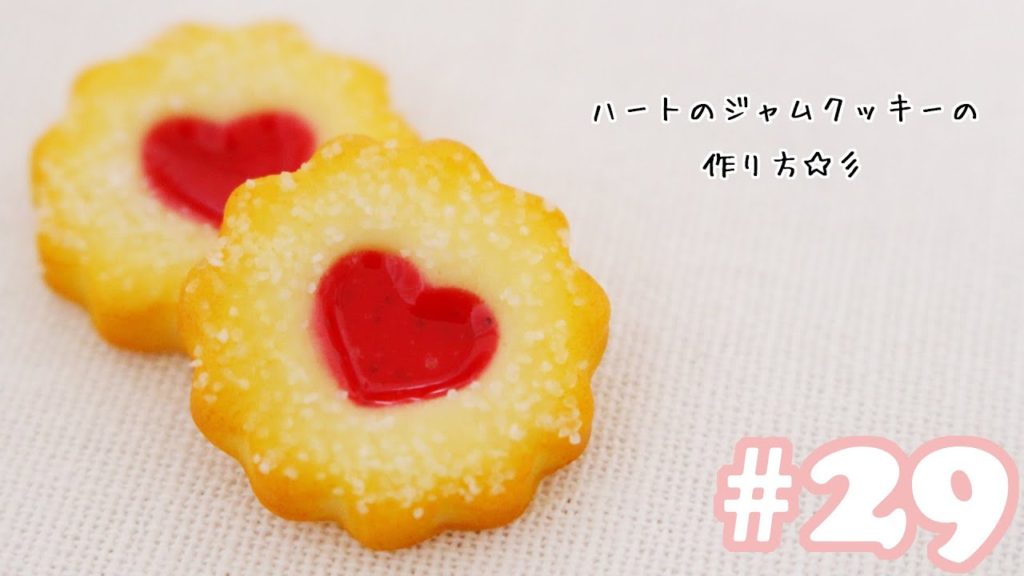
<p>ï½ãã¼ãã®ã¸ã£ã ã¯ããã¼ã®ã¬ã·ãï½<br />
ï¼ææï¼<br />
ã»æ¨¹èç²åï¼ã°ã¬ã¤ã¹ã¨ã³ã¹ã¢ã¹ãï¼ï¼ï¼ã§æ··ãããã®ï¼<br />
ã»ã¿ã¼ãã¼ ã¢ã¯ãªã«ã¬ãã·ã¥<br />
ãã¤ã¨ãã¼ãªã¼ã«ã¼ããã¹ãã«ã¬ã¢ã³ã<br />
ããã¼ã³ãã·ã§ã―ãããã·ã³ã°ãã¯ã¤ãããã¼ããã³ãã¬ãã<br />
ã»ãã¸ã³ ã¢ãããã¼ã¹ã<br />
ã»ãã§ã¤ã¯ã·ã¥ã¬ã¼<br />
ã»æ°´<br />
ã»ãªãããã¯ã¹ ã¹ããªã³ã°ã¸ã§ã«ã¡ãã£ã¦ã <br />
ã»è²ç ï¼è¶è²ï¼</p>
<p>ï¼éå ·ï¼<br />
ã»ã¯ãªã¢ãã¡ã¤ã«ï¼10ã»ã³ãåæ¹ã«åã£ããã®2æï¼<br />
ã»ã¯ããã³ã°ã·ã¼ãï¼10ã»ã³ãåæ¹ã«åã£ããã®1æï¼<br />
ã»ãã¬ããµã¼<br />
ã»æ¯ãã©ã·<br />
ã»ãã¼ãåã¯ããã¼å<br />
ã»ãè±åã¯ããã¼å<br />
ã»ã¤ã¾ãããï¼ç«¹ä¸²<br />
ã»ã¿ãªã«<br />
ã»ç©ºã容å¨ã¾ãã¯ç´ãã¬ãã<br />
ã»ç<br />
ã»å粧ç¨ãã</p>
<p>ï¼è³¼å ¥å ï¼<br />
ã»æ¨¹èç²åãã¢ã¯ãªã«ã¬ãã·ã¥ãã¢ãããã¼ã¹ãã<br />
ã»ãªãããã¯ã¹ã¹ããªã³ã°ã¸ã§ã«ã¡ãã£ã¦ã ã<br />
ã»ãã¬ããµã¼ï¼æ±æ¥ãã³ãºï¼<br />
ã»ã¸ã§ã«ã¡ãã£ã¦ã ã¯ãªãããã¯ã¹çµµã®å ·ã³ã¼ãã¼ã®è¿ãã«ç½®ãã¦ããã¾ãã<br />
ã»ãã§ã¤ã¯ã·ã¥ã¬ã¼ï¼ã»ãªã¢ï¼<br />
ã»è²ç ï¼ã·ã¢ã¸ãï¼ãªããã°ãããæ¤ç´¢ã§ã<br />
ã»ãã®ä»ã®éå ·ã¯100åã·ã§ããã§æãã¾ããï¼ã»ãªã¢ï¼ãã¤ã½ã¼ï¼</p>
<p>ï¼ã¬ã·ãï¼<br />
ã»æ¨¹èç²åã°ã¬ã¤ã¹ã¨ã³ã¹ã¢ã¹ãç·´ãåãããçµµã®å ·ã§çè²ãã¾ãã<br />
ãç½ãå ¥ããã®ã¯è²æ¢ãã®çºã§ãã<br />
ãï¼ãã¯ã¤ãï¼ï¼ãã¹ãã«ã¬ã¢ã³ï¼ï¼ã¤ã¨ãã¼ãªã¼ã«ã¼0.5ãããã®å²åï¼<br />
ã»2ï½ï½ã®ç²åçãã¯ãªã¢ãã¡ã¤ã«ã«ç½®ãã¦èãã®ã°ãã¾ãã<br />
ã»æ¯ãã©ã·ã§ãã½ãã½ã¨è³ªæãã¤ãããï¼→ããã2æä½ãã¾ãã表ã¨è£ï¼<br />
ãï¼ããé¢ã¯èããããã¦é¢ã¯ããåãã«ã®ã°ãã®ãPOINT!ï¼<br />
ã»ããã¦é¢ã¯ãã¼ãã®æãåã§æãã¾ããï¼ãã¼ãã®ã¨ããã«ã¸ã£ã ãå ¥ãã¾ããï¼<br />
ã»ããé¢ã¯æ¯ãã©ã·ã§ãã½ãã½ããé¢ãè£è¿ãã«ãã¦ãããã¦é¢ã¨ãã£ã¤ãã¾ãã<br />
ã»ãè±åã¯ããã¼åã§æãã¾ãã<br />
ã»ç¡¬åããã¾ã§èªç¶ä¹¾ç¥ããã¾ããï¼ç´3æ¥éãï¼<br />
ã»çµµã®å ·ã§ç¼ãè²ãä»ãã¾ããçè²ã¯å¤å´ã ããçãä¸ã¯è²ä»ããã¾ããã<br />
ãï¼ã¤ã¨ãã¼ãªã¼ã«ã¼ï¼ï¼ãã¼ã³ãã·ã§ãã¼ï¼ã®å²åï¼<br />
ãã¤ã¨ãã¼ãªã¼ã«ã¼ã ãã§çè²ãã¦ä»ä¸ãã«ãã¼ã³ãã·ã§ãã¼ãæ··ãã¦çè²ãã¾ãã<br />
ã»ã¢ãããã¼ã¹ãã¨æ°´ï¼å°éï¼ãæ··ãã¦ããã¦é¢ï¼çªªã¿ã¯å¡ããªãï¼ã«èãå¡ãã¾ãã<br />
ãï¼æ¥çå¤ã¨ãã¦ã¢ãããã¼ã¹ãã使ã£ã¦ãã¾ãã<br />
ããä¹¾ç¥ããã¨ç¡è²éæã«ãªãã®ã¨ãæ°´ã«å¼·ãã®ã§ä½¿ã£ã¦ãã¾ãï¼ã<br />
ã»ã¢ãããã¼ã¹ããä¹¾ç¥ããåã«ãã§ã¤ã¯ã·ã¥ã¬ã¼ãã¾ã¶ãã¾ãã<br />
ã»ã¢ãããã¼ã¹ãã硬åããã¾ã§èªç¶ä¹¾ç¥ããã¾ããï¼ç´3æéãï¼<br />
ã»ãã¼ãã®çªªã¿ã«å ¥ã£ãã·ã¥ã¬ã¼ã¯çã§æãè½ãã¾ãã<br />
ã»ãã¡ãã¸ã£ã ãä½ãã¾ãã<br />
ãï¼è²ç ã¯ãã¡ãã®ç²ã ã表ç¾ããããã«å ¥ãã¦ãã¾ããï¼<br />
ã»ãã¡ãã¸ã£ã ããã¼ãã®çªªã¿ã«å ¥ãã¾ãã<br />
ã»ã¸ã£ã ã硬åããã¾ã§èªç¶ä¹¾ç¥ããã¾ããï¼ç´1æ¥éãï¼<br />
ã»ã好ã¿ã§ãã¹ãå¡ã£ã¦ãã§ããããã</p>
<p>&#8212;&#8212;&#8212;&#8212;&#8212;&#8212;&#8212;&#8212;&#8212;&#8212;&#8212;&#8212;&#8211;<br />
↓ããã°ã¯ãã¡ã↓ãæ°´çãã³ãã<br />
http://mizutamabanbi.blog21.fc2.com/<br />
&#8212;&#8212;&#8212;&#8212;&#8212;&#8212;&#8212;&#8212;&#8212;&#8212;&#8212;&#8212;&#8211;</p>
<p>å¶ä½ã»ç·¨éã»æ®å½±ãæ°´çãã³ãï¼MizutamaBambi)<br />
My weblog:http://mizutamabanbi.blog21.fc2.com/<br />
Follow me on twitter!:@mztbanbi</p>
<p>Music by:FREEBGM DOVA-SYNDROME<br />
HPã¯ã³ãã©→http://dova-s.jp/</p>
<p>æ®å½±ï¼SONY ãã³ãã£ã«ã HDR-CX630<br />
 ã Canon EOS Kiss X7<br />
ç·¨éï¼Adobe/PhotoshopElements11<br />
 Ciber Link/<br />
 PowerDirector 12 Ultimate Suite<br />
 (ãã¯ã¼ãã£ã¬ã¯ã¿ã¼ 12 ã¢ã«ãã£ã¡ããã¹ã¤ã¼ãï¼</p>


【スイーツデコ】ハートジャムクッキーの作り方